LassoMailer - Installation
Installation steps
- Lasso 9 Instance set up
- Install LassoMailer LassoApp
- Run LassoMailer installation / configuration
- Set up scheduled events
- Create a test list and campaign
- Miscellaneous installation notes
Note: steps 1, 2, and 4 can be skipped if the server already has a LassoMailer installation that will be shared with the new installation.
1. Lasso 9 Instance Setup
To create a new Lasso 9 instance, visit the server's Instance Manager and create a new instance.
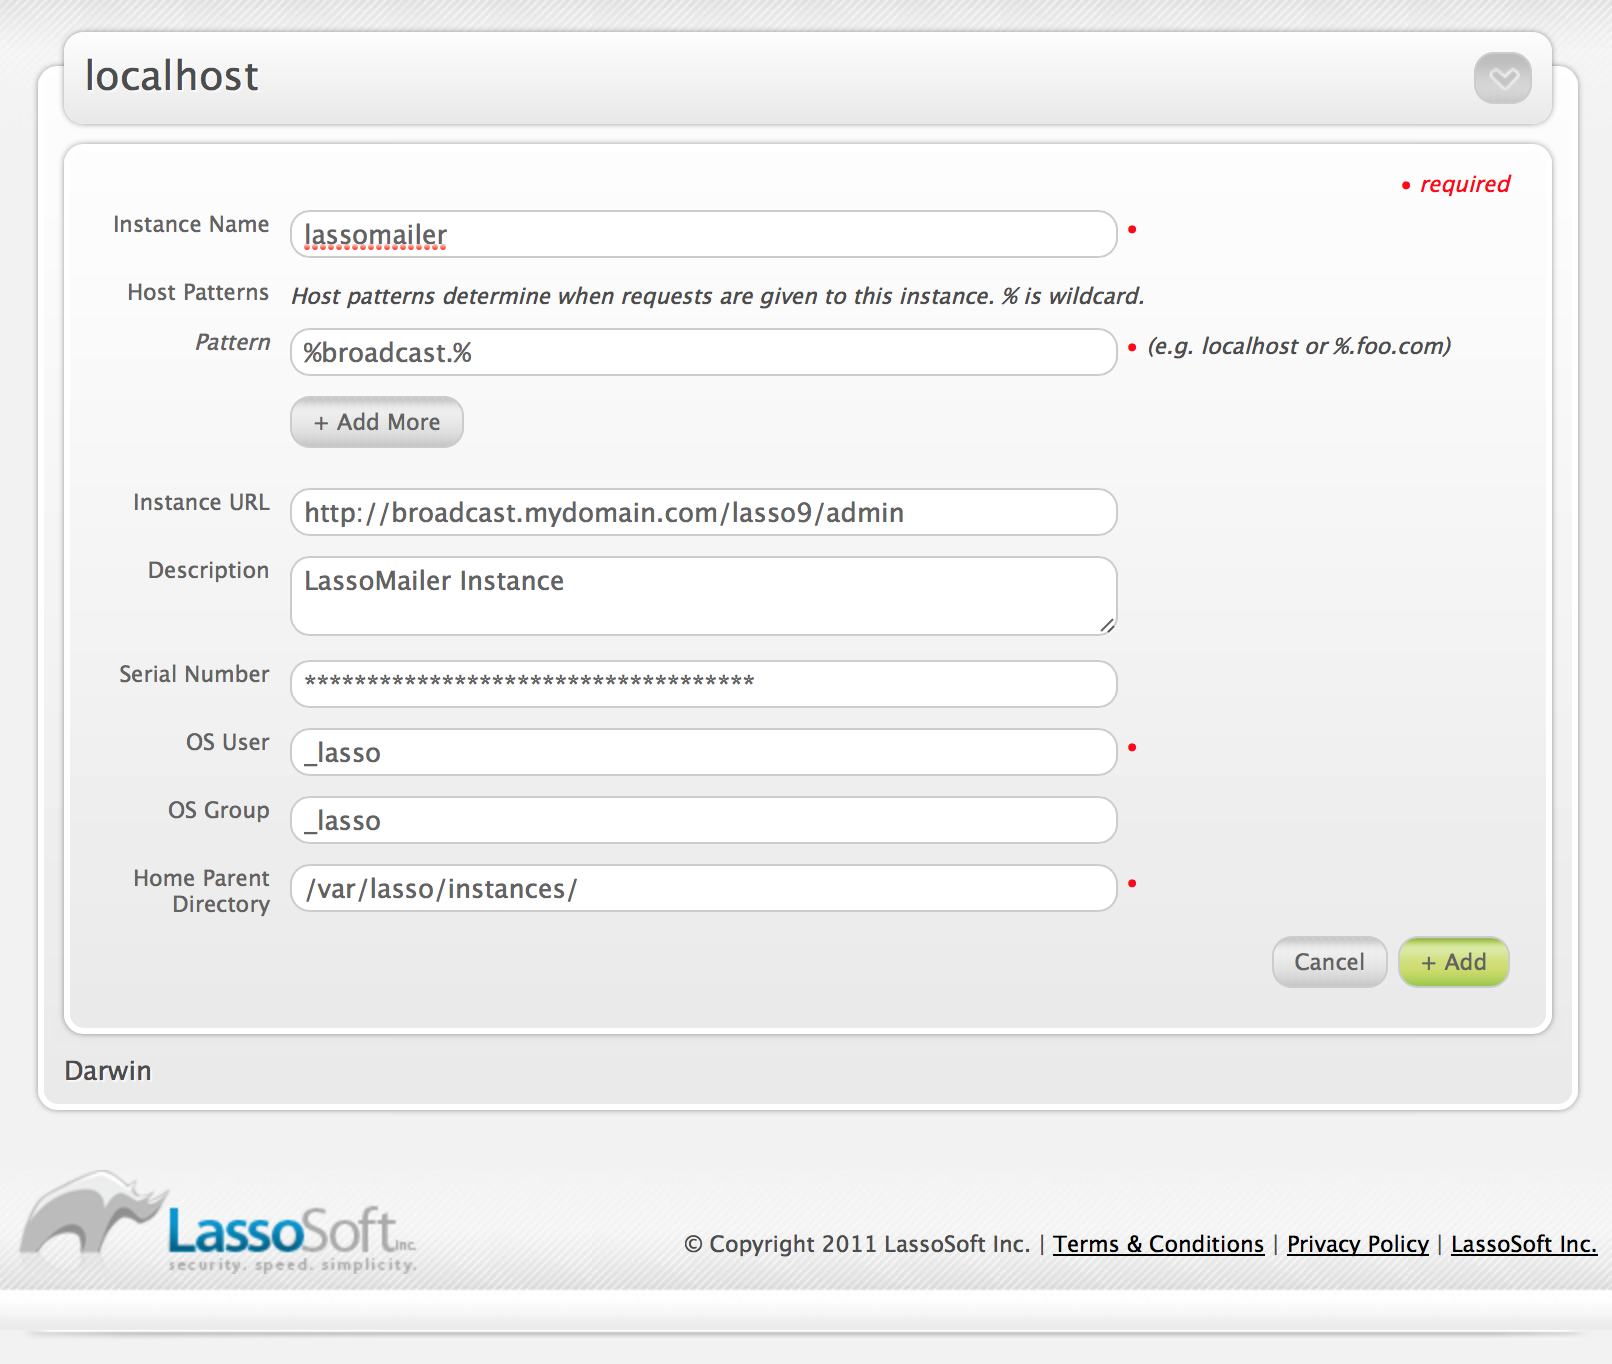
Once the new instance has been created, visit the Lasso 9 administration interface for this instance. Initialize as required, and visit the Datasources administration area (http://{your.comain.com}/lasso9/admin/ds).
Create a new MySQL connection:

Note that this MySQL user must have permission to create databases. If this level of permission is not granted by your system administrator, you will need two databases to be created and permissions granted for your user to read, write, and modify the structure for these databases:
- The LassoMailer "broadcast_global" database, which stores the configurations and global mail queue. This database will be shared by all LassoMailer installations on the server and is not unique to your installation.
- A database for your LassoMailer data. This is unique to your LassoMailer installation.
If you have been granted database creation priviledges for your MySQL user, you do not have to create these databases; they will be created automatically in subsequent steps.
2. Install LassoMailer LassoApp
Download the correct LassoApp for your server platform. Note that these are compiled for 64-bit operating systems.
Download Links
- Mac OS X: http://www.lassosoft.com/_downloads/lassomailer/mac/LassoMailer.lassoapp
- Ubuntu: http://www.lassosoft.com/_downloads/lassomailer/ubuntu/LassoMailer.lassoapp
- CentOS 5.x: http://www.lassosoft.com/_downloads/lassomailer/centos5/LassoMailer.lassoapp
- CentOS 6.x: http://www.lassosoft.com/_downloads/lassomailer/centos6/LassoMailer.lassoapp
Move the downloaded LassoApp into the LassoApps directory of your Lasso 9 instance, and restart the instance from the Lasso 9 Instance Manager.
Upon restart, the "broadcast_global" database and tables will be created if necessary.
3. Run LassoMailer installation / configuration
Visit http://{your.domain.com}/lasso9/LassoMailer in a browser. If a configuration does not already exist you will be presented with the installation/configuration screen:
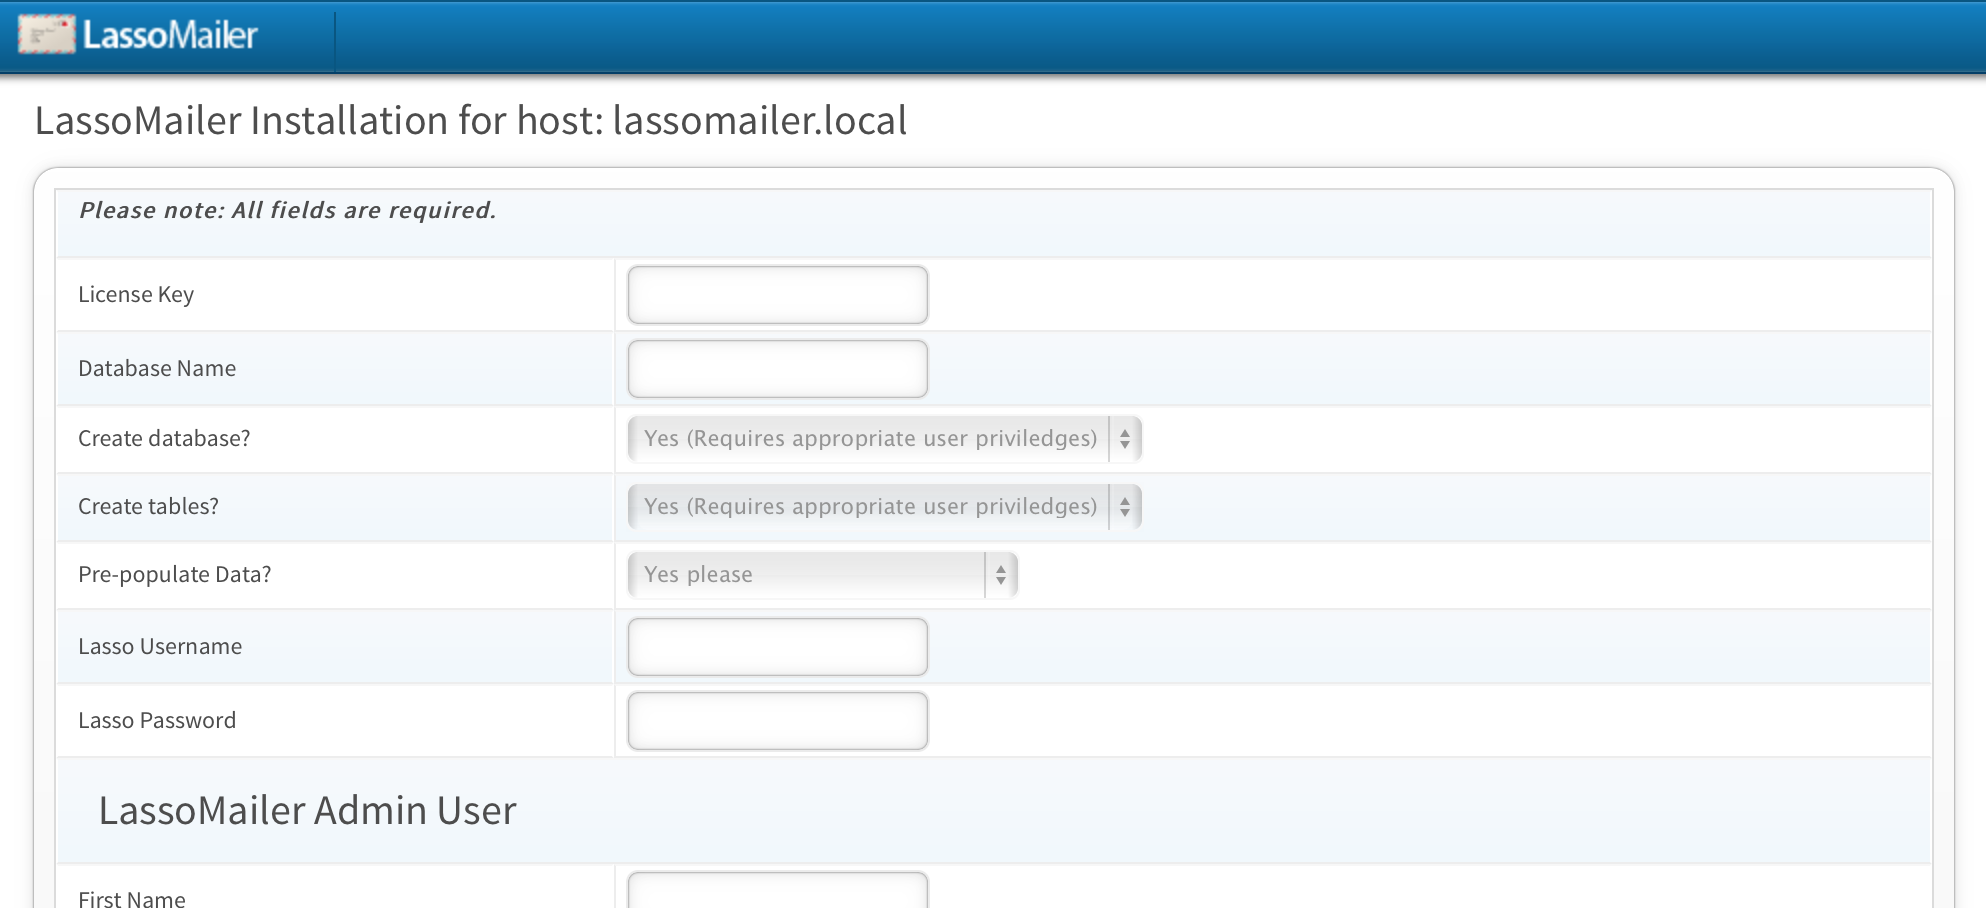
License Key
This is the LassoMailer license key that is bound to your domain name. Once LassoMailer has been purchased from the LassoSoft Store, your "Serials" tab in your LassoSoft account will show a line item with a "Register" button associated with the order number.

Click the "Register" button, enter your domain name and generate your license key.
Once that has been generated, it is locked to that domain.
Copy this key and enter it n the "License Key' field in the installation screen.
Database Name
Enter the database name that will hold the LassoMailer data. If this database already exists make sure you enter it correctly, paying particular attention to case.
Create database option
If the database exists, select "no", else select "yes" to have the installer create the database.
Create tables option
Select "yes" in all situations where the database tables and data are not pre-existing.
Pre-populate Data option
Select "yes" in all situations where the database tables or data are not pre-existing.
Lasso username and password
Enter the Lasso username and password to ensure the installer has appropriate permissions.
LassoMailer Admin User
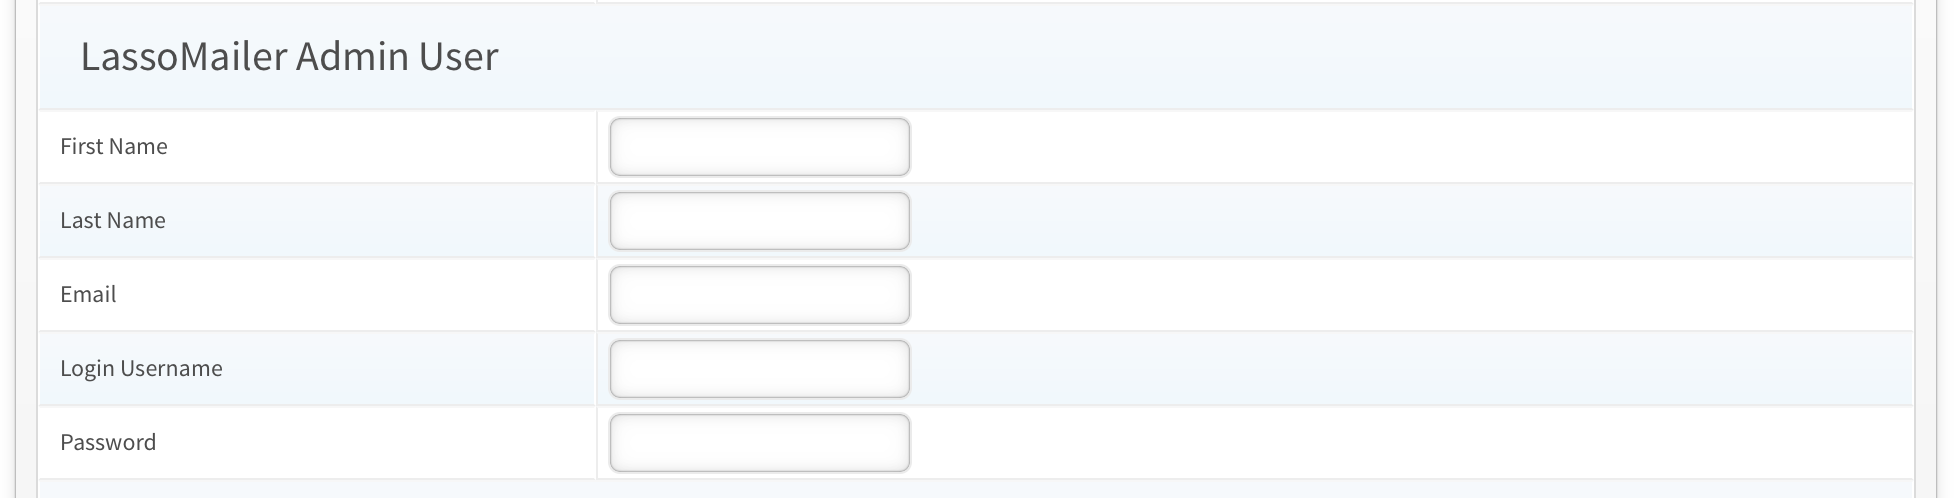
Your email is where password resets will be sent.
Default Settings

LassoMailer distinguishes between the SMTP sending account, the "from" address included in campaign emails, and their "reply-to" address. The setting shown above is the "reply-to" default address.
4. Set up scheduled events
LassoMailer employs an active release action to send to each list. With this, you can set the date and time of release with a calendar for date, and hour / minute sliders for setting the time. Campaigns can be set to be released up to 364 days in the future. Click send with the current date and time in place, and it will go immediately.
5. Create a test list and campaign
Follow the steps outlined in the documentation for creating a list, and sending a test campaign. Send a "test email" first before releasing the list to send. Remember to activate both the list and the campaign in order to allow the system to send these emails.
Miscellaneous Installation notes
To add a redirect from the root of your virtual host to the login page of LassoMailer:
- Add a DirectoryIndex directive to the virtual host in Apache for index.lasso
- Add an index.lasso in the root of the virtual host directory wil the following contents:
[redirect_url('/lasso9/LassoMailer')]
LassoSoft Inc. > Home
©LassoSoft Inc 2015 | Web Development by Treefrog Inc | Privacy | Legal terms and Shipping | Contact LassoSoft